Sto. Tomas, Batangas
Jump-off: Brgy. San Miguel, Sto. Tomas
LLA: 14.13°N 121.20°E, 1090 MASL (Peak 2)
Hours to Peak 2 / days required: 1-2 days / 7-8 hours
Specs: Major climb, Difficulty 6/9, Trail class 3 with roped segments
Source:
Pinoy Mountaineer
 Still a part of UP Los Banos Campus just around 150 meters away from the registration site
My first two climbs of Mount Makiling Peak 2 were recorded on June 25, 1998 and May 29, 1999. That was the time when I was still active as a member of PNB Mountaineering Club. I did not find those climbs memorable then for really the mountain from its jump-off point to the summit offers no magnificent scenery. All I remember then was the mountain is good for a workout climb in preparation for major climbs and its fierce limatik (blood sucking leech).
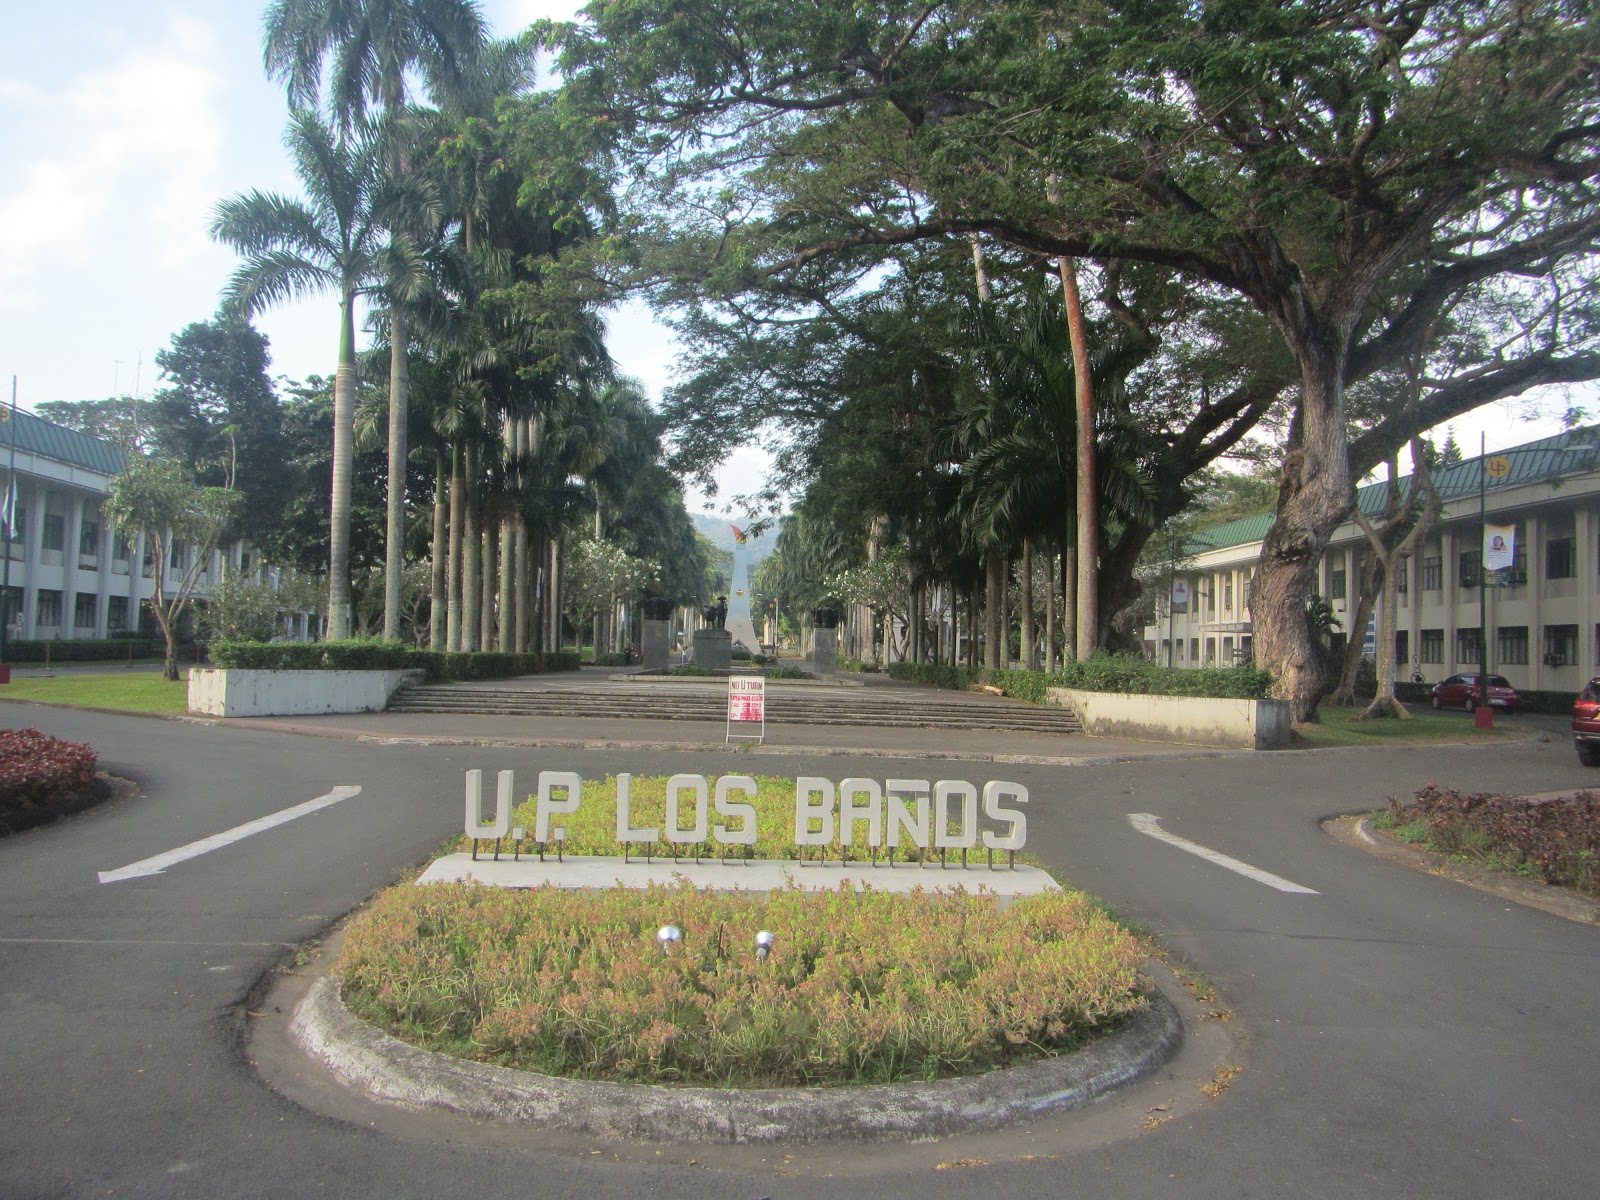
 University of the Philippines Los Banos (UPLB) Campus Main Gate
Would you believe that the best views I took were not really from Mount Makiling but some part of UPLB? I suggested to my group that we should disembarked from the jeepney right from the main gate and take monumental pictures. I have been in UP Los Banos for a number of times but I did not have a chance to take pictures on its main gate since we usually ride in a car whether private or public transport. This time, I highly influenced my group to stop at the main gate for pictorials which they agreed.
 Part of UPLB Campus Main Gate
I find very interested in this mountain when I was preparing for my Mount Halcon Climb. I did some research on it and by then, I came to appreciate it very much. Not to mention that I invited 12 friends and three of them were my climbing buddies in my Mount Halcon climb.
 A closer look of the university
This time, I did a sort of research about the mountain. It was a simple research which I retrieved from Wikipedia and I want to share it with you and they are as follows:
Mount Makiling, or Mount Maquiling, is a dormant volcano in Laguna province on the island of Luzon, Philippines. The mountain rises to an elevation of 1,090 m (3,580 ft) above mean sea level and is the highest feature of the Laguna Volcanic Field. The volcano has no recorded historic eruption but volcanism is still evident through geothermal features like mud spring and hot springs. South of the mountain is the Makiling-Banahaw Geothermal Plant. The Philippine Institute of Volcanology and Seismology (PHIVOLCS) classifies the volcano as potentially active.
Mount Makiling is a state-owned forest reserve administered by the University of the Philippines Los Baños. Prior its transfer to the university, the mountain was the first national park of the Philippines. Mount Makiling National Park was established on February 23, 1933 by Proclamation No. 552. However, it was decommissioned as a national park on June 20, 1963 by Republic Act no. 3523 when it was transferred to the University for use in forestry education and information. Now known as Mount Makiling Forest Reserve, it was declared an ASEAN Heritage Park in 2013.
Mt. Makiling is a popular hiking destination. The two major trails begin at the UPLB College of Forestry and Brgy. San Miguel, Santo Tomas. The UPLB trail is more commonly used, taking 4–5 hours to reach the summit (Peak 2). This trail was closed in October 2007 due to trail damage wrought by Typhoon Xangsane on September 2006. The trail was closed again in December 2012 after two students were found drowned in a restricted area on the mountain. The trail was re-opened most recently in March 2013. The second trail, known as Maktrav, starts in Santo Tomas. This route is more difficult and requires 6–7 hours to reach the summit. Both trails are generally established and safe, although throughout the years there have been occasional reports of fatal accidents and injuries, especially on the Santo Tomas side. Climbers also frequently encounter leeches along the way.
 Trekking started when the jeepney dropped us on the bridge heading to the Forestry
There is actually a jeepney heading to the forestry near the registration site but by the time we were there, the driver only dropped us before crossing the bridge where it turned left. It was a long walk but the verdant surrounding along a concrete road was quite refreshing. The following pictures were taken before the registration site.
 UPLB Forestry and Natural Resources Department
 UPLB Museum of Natural History
 Makiling Botanical Gardens
 Around 50 meters heading to the registration site
 The staff in the registration site
I can't believe that Mount Makiling only charges P10 for the registration. Climbers can bring their cars and park it nearby as there are a lot of parking spaces. Any valid ID is left with the registration staff in exchange of a visitor's ID. From this point, the road is cemented but no vehicle is allowed to go beyond. It is an 8-kilometer walk anyway. Climbers can have the option to take a single motor bike for a fare of P100. However, we opted to walk instead. We realized, it is such a punishment to your feet to walk over a concrete road. It causes so much friction on your feet and the solid hard cemented road.
 The start of an 8-kilometer walk over a concrete road with some parts ascending
By then, we were so energetic and we did not mind the eight kilometer walk. There was a point when we met an old man selling a very delicious ice candy at very minimal cost.
 Need to pass thru this point (Model:Victor Michael Octaviano )
 This is just along the road
 Still along the periphery of the road
 The Agila Base
The Aguila Base is the end of the 8-kilometer walk where we could have the option to ride in a single motorbike. This is also the jump-off point to Mount Makiling and most importantly, it is a place where we had our refreshments including the buco fruit at P25 each.
 Indeed, a rain forest trail
I really don't know where the station markers started but after a long walk from Agila Base I came to see Station 15 Marker. As we go deeper to the forest, it was becoming thick and limatik was evident. The trail was narrow and wet.
 Station 22 I suppose can be used for a camp site
Station 22 is the only part of the trail where its space can accommodate a few tents. It is equipped with long bamboo and wood chairs. For such a long walk, nobody can't resist to sit on these bamboo flatforms.
 The only viewdeck I have seen along the trail
After few minutes walk from Station 22 is a viewdeck which offers with such a magnificent scenery of the lowlands. Each of us had take turns it capturing solo pictures in this viewdeck.
 A test of vertical climb with rope (Model: Kayecelyn Pacris)
After Station 26, a vertical climb with rope segment. But on our way back, an improvised bamboo ladder was installed since this point is muddy.
 The mossy forest after Station 27
The trail as we climb higher was becoming difficult with a lot of cardiac assaults. You need to leap from one point to another and trailing over big roots. It was becoming muddy. The trail was becoming narrow. Indeed, one can maximize his workout here.
 Station 30: The Summit (Model:Daryll Isorena Pedro )
There was no view at the summit. It was an enclosure of bushes, cogon and other grass family species, I suppose. At one point, you can see the neighboring mountains. At the center of the summit is a small clearing where we took our lunch and took a nap while limatik were feasting on us. We stayed there for more than an hour waiting for the arrival of two other climbing buddies who did not make it fast like what we did.
 Considering Station 30 Significantly (Model: Kaiem Ganelo )
 Very relaxing moments at the summit after taking lunch
 Our group just before leaving the summit
The pictures below were taken as we trekked back to Agila Base. This would be before Station 16, I suppose. I honestly did not notice these points when I was ascending.


Since it was slippery, descending was really difficult then. It took more than 2 and half hours to descend back to Agila Base. We had an ample rest at the Agila Base and took again cold drinks and buco for sale. In leaving the place, others opted to ride in a single motor bike and the rest walked. It was already 6pm when all our companions arrived at the registration site and some others took shower there. There were no enough shower rooms and so it took time for all those who took a bath to finish their shower.
Expenses if through public transport:
| SN |
Particulars |
Amount |
| 1. |
Round Trip Airconditioned JAC Liner Bus from Buendia LRT to UPLB Drop Off Point and vice versa (One way is P99) |
P198 |
| 2. |
Round Trip Jeepney fare from Jollibee Drop Off point to the Forestry (P8.5 one-way) |
17 |
| 3. |
Registration |
10 |
| 4. |
Breakfast and Lunch |
200 |
|
TOTAL |
425 |